
At first I was focused on building a PC for the same price as the PS4: $400. But I wanted a good graphics card, and then a better processor, and a little more RAM, the awesome Asus Gryphon motherboard, and then of course I needed a monitor.......... Eventually my rig doubled in price. One money saving strategy stayed throughout the project:: the case. I had decided at the beginning of the project to build the case out of scrap wood to save the whopping $50 price of a pre-built one. My original design also called for an old moose antler to be attached as a lid, and one variant of that design would actually have had the components screwed into the antler itself. Alas, the moose antler proved not to be a practical option, so I had to compensate for the loss of that Item by making the rest of the case more elaborate.
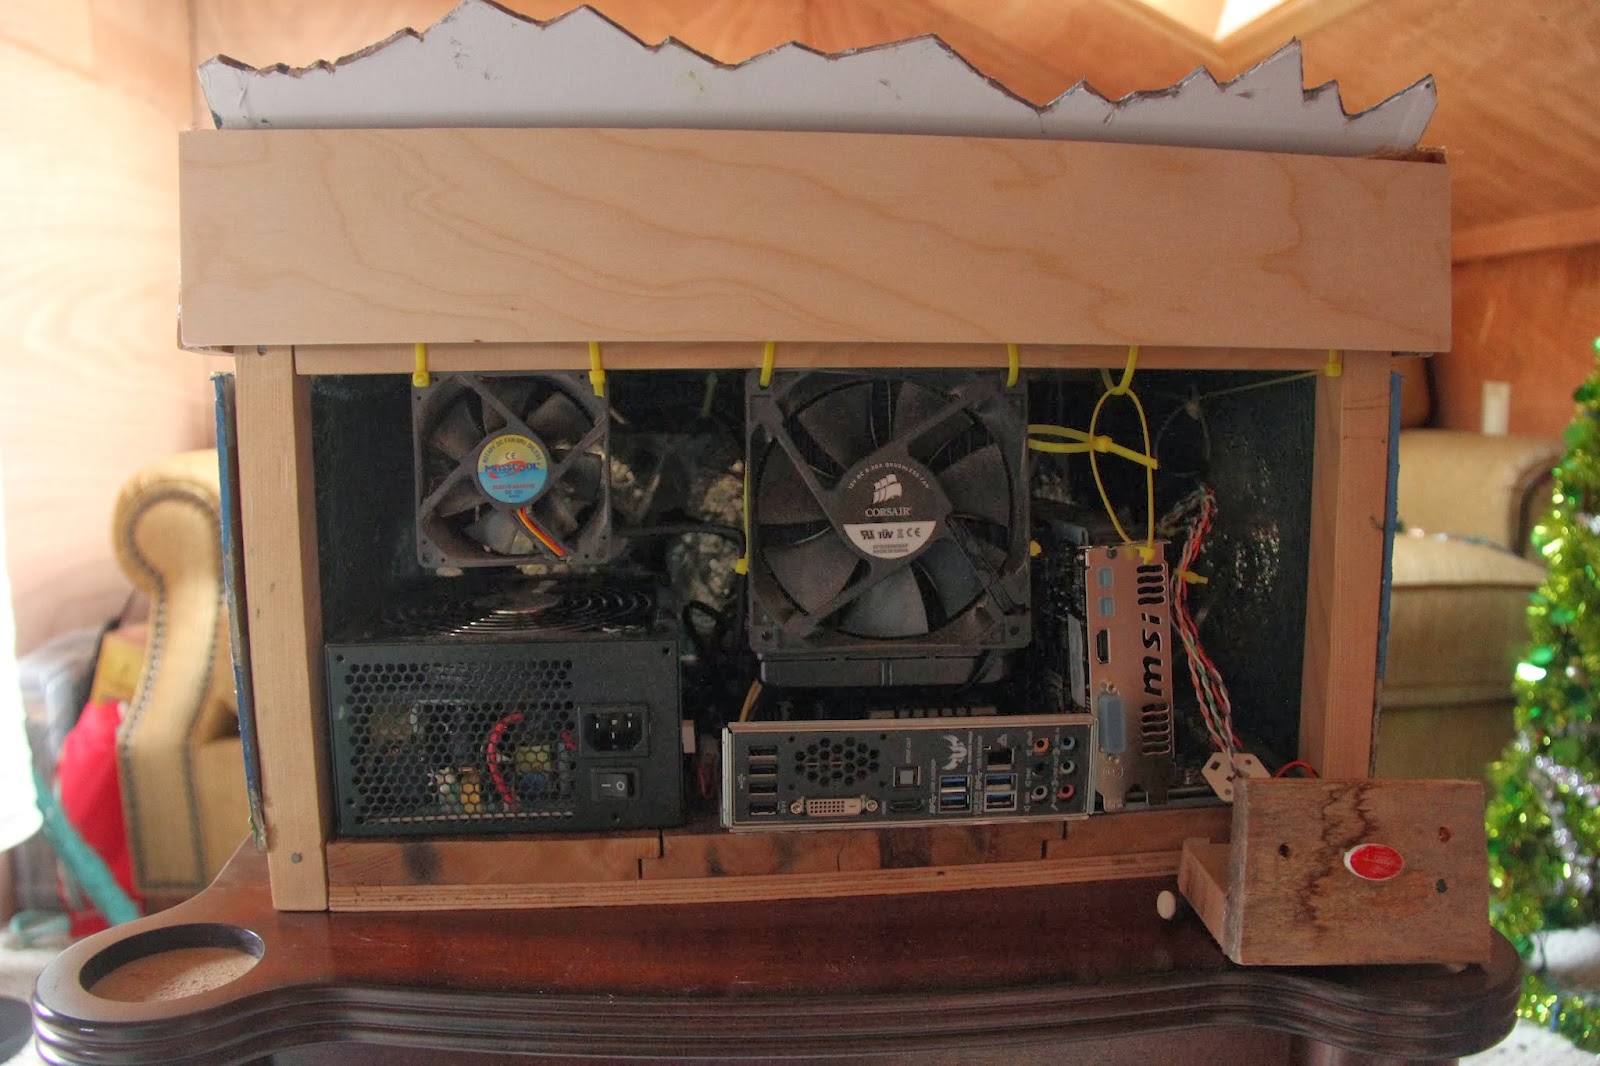
I am an amateur painter, and I decided that painting the case might make up for the loss of the moose antler. My favorite subjects are stylized leaves and mountain scenes, so I designed a case with vents cut in the shape of leaves and a painted background of mountains and lakes. However, I did not want dust invading my PC so I used an organic furnace filter to line the inside of the box. My final design for the case was built in Google Sketchup. I designed a scale model and used it to get the exact measurements for the case. I used wood from a shipping crate for the frame and scrap boards (that were pulled out of the old attic when we remodeled it) for the base. I wanted the whole thing to run as cool as possible, so in addition to the vents on the front and sides of the case I left half of the roof of the lid open above a layer of furnace filter. To improve the look of this I added canvas fins made to look like ranges of mountains when viewed from the front. I have to admit that that I probably went a bit crazy with the case fans: there are 5 in total, 3 on the front behind the filter for air intake and one on the side and the back for pulling hot air out of the case. The one on the side is positioned so as to directly pull heat off of the video card. The fan on the back works with the 3 on the front to push large amounts of cool air over the components and draw all the hot air out the back. I came up with a rather unorthodox way of positioning the fans and the liquid cooling system for the cpu: I strung it all from an elaborate web of interlocking zip ties. As weird as this sounds it was a relatively easy and effective solution. The tray for the motherboard gave me some problems: I didn't have one and couldn't get one for a reasonable price. In the end I yanked one out of an old non-functional 15 year old dell that was gathering dust in the basement. I used a hammer and tin snips to modify it to fit the motherboard. In the end the whole thing looks pretty slick from the outside. My power button was salvaged from an old PC by my younger brother, who also built the console for it that includes a few indicator lights. Although the frame was put together with nails, the canvas side panels were affixed with hot glue and the roof is entirely held together by hot glue.
Now for the list of parts. I tried to put together a machine that would be affordable yet powerful enough to handle all the latest games and be able to support any upgrades I might want to make in the future:
Cooler Master SickleFlow 69.7 CFM 120mm (side panel outtake Fan for cooling GPU)
Masscool FD08025S1M4 31.7 CFM 80mm (outtake Fan)
(3X) Kingwin CF-012LBR 40.0 CFM 120mm (intake Fan)
SteelSeries Zboard Gaming Keyboard


Total cost: $900
Building this rig was quite an experience, I learned an incredible amount about how computers work and in the process became very attached to my creation. I have decided to name it Hex after the magical computer in the Discworld novels by Terry Pratchett.
Future upgrades might include a better processor capable of overclocking, another 8GB of RAM, and a more powerful Nvidia graphics card. I might also switch to SteamOS once it has more support for Windows games. For now, however, this beast can run any game I throw at it at 60fps at 1080p. I am so glad I built this instead of buying the PS4!

The finished sides and roof

The Frame

Some Assembly Required

Glowing Interior

A more detailed shot of the interior

Front

Right side

Left side
Rear

Lid

Finished at last!